
Eagle Scalper Indicator V1.0 for MetaTrader 4 is designed for traders who want clear, rules-driven entries on lower timeframes without guesswork. Instead of chasing every flicker of price, the indicator filters momentum that aligns with the prevailing micro-trend and presents an actionable signal. This guide explains how it works in practice, how to install and configure it, and how to build a realistic routine that can survive real-world spreads, slippage, and market noise.
What makes a scalping tool useful is not just arrows on a chart. It is the combination of logic, session discipline, risk control, and post-trade review. Treat Eagle Scalper as a signal engine inside a complete workflow. You bring the structure; the indicator supplies timely prompts.
Overview: When and where Eagle Scalper shines
Scalping succeeds when liquidity and volatility overlap. That typically means London hours and the London–New York overlap. Pairs with deep liquidity and tighter spreads behave best: EURUSD, GBPUSD, USDJPY. XAUUSD is also suitable if you are comfortable with its velocity and can secure raw or low-spread execution.
Timeframes should balance noise and responsiveness. Start with M5. Move to M1 only after you have a stable routine and low friction with your broker. M15 is a slower option if you prefer fewer but cleaner signals.
Installation and first-run checklist
- Copy the .ex4 or .mq4 file into MQL4/Indicators in MT4.
- Restart MT4 and attach the indicator to your chosen chart and timeframe.
- In Inputs, enable alert types you actually use (popup, push, email) and disable the rest to avoid distraction.
- Save a template so you can reload the same layout in one click.
- Turn on the data window and the terminal alerts tab so you can verify, in real time, how and when signals fire.
Baseline configuration you can test
• Timeframe: M5
• Pairs: EURUSD, GBPUSD, USDJPY, XAUUSD
• Signal sensitivity: Medium to start
• Extra signal entries: Off for week one; on later with a strict cap
• Session filter: Trade London and London–New York overlap; avoid low-liquidity gaps
• Spread guard: Define a hard threshold per instrument and skip signals when exceeded
A no-nonsense ruleset for entries and exits
Entry
• Trade only in the direction of a clearly defined micro-trend. Confirm with a simple higher-timeframe guide such as the slope of a 50-period EMA on M15 or H1.
• Act only on a closed-bar signal. Do not enter mid-bar.
• If the setup forms directly into prior day high/low or a visible supply/demand pocket, wait for a clean break and retest instead of forcing a first entry.
Stop loss and take profit
• Set the stop beyond a recent swing or at 1.5× ATR(14) for M5, whichever is further.
• Start with a modest TP such as 1.2R–1.6R. Scalping pays through frequency and discipline, not oversized targets.
• Consider partial close at +0.8R and move the remainder to break-even. This prevents one deep pullback from erasing a series of small wins.
Position sizing
• Keep initial risk per trade between 0.25% and 0.5% of equity.
• If you later enable additional entries, add smaller size and only when the first position is already in profit. Cap total open risk at 1% until your data shows otherwise.
A day-to-day operating routine
Pre-session
• Check the economic calendar and mark high-impact times. Plan either to stand aside or widen stops and reduce size if you choose to trade around them.
• Verify spreads are within your instrument thresholds.
• Audit your chart: clear trend, room to target, no immediate obstacles.
During session
• Take only A-quality signals that meet all rules.
• After entry, avoid micromanaging the trade. Let the plan run.
• If you hit a daily loss cap (for example 1% or 2R), stop trading for the day. This single rule can preserve weeks of progress.
Post-session
• Log every trade with screenshots.
• Record spread at entry, slippage on exit, and your psychological notes.
• Update metrics weekly: win rate, average R, expectancy, maximum drawdown, average hold time, and profit factor.
How to validate the indicator before going live
Backtest visually on MT4 over at least three months per instrument. Take notes on specific behaviors: does the indicator perform better in clean trends, does it struggle in range rotation, how often does a first pullback fail compared to the second. Forward test on demo for 15–30 sessions with fixed rules. Only after your metrics are stable should you move to a small live account with micro risk.
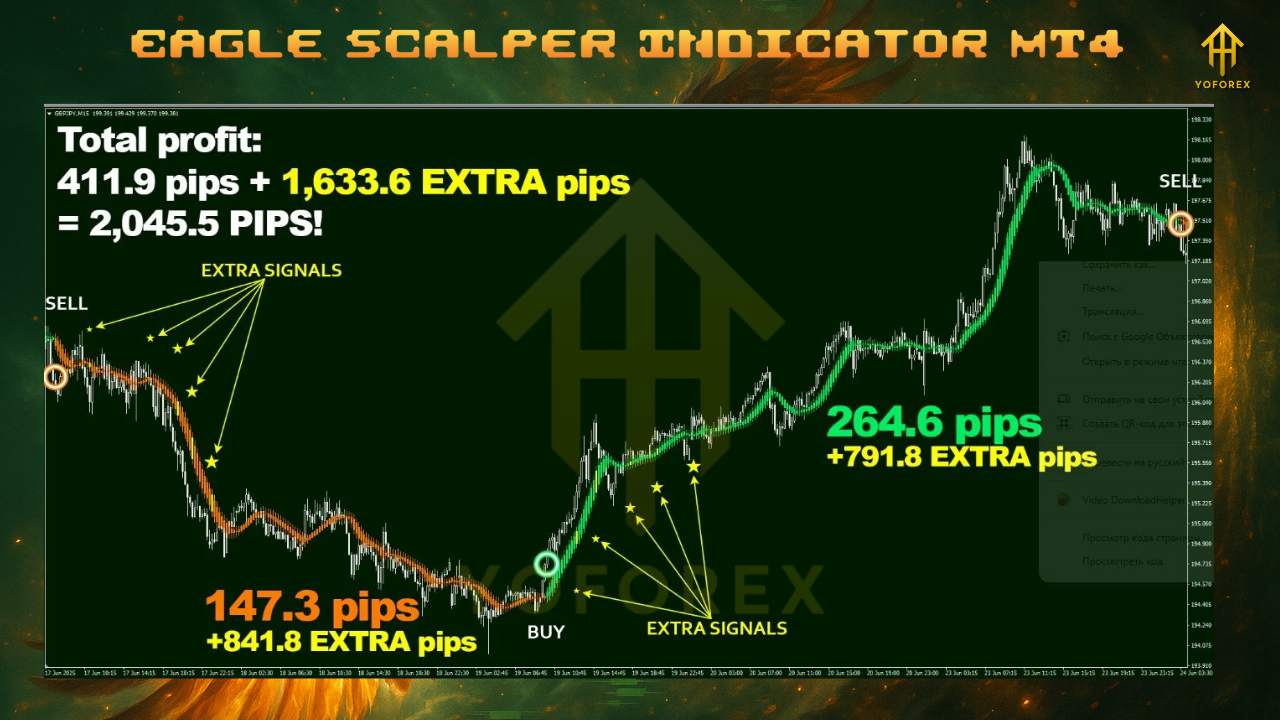
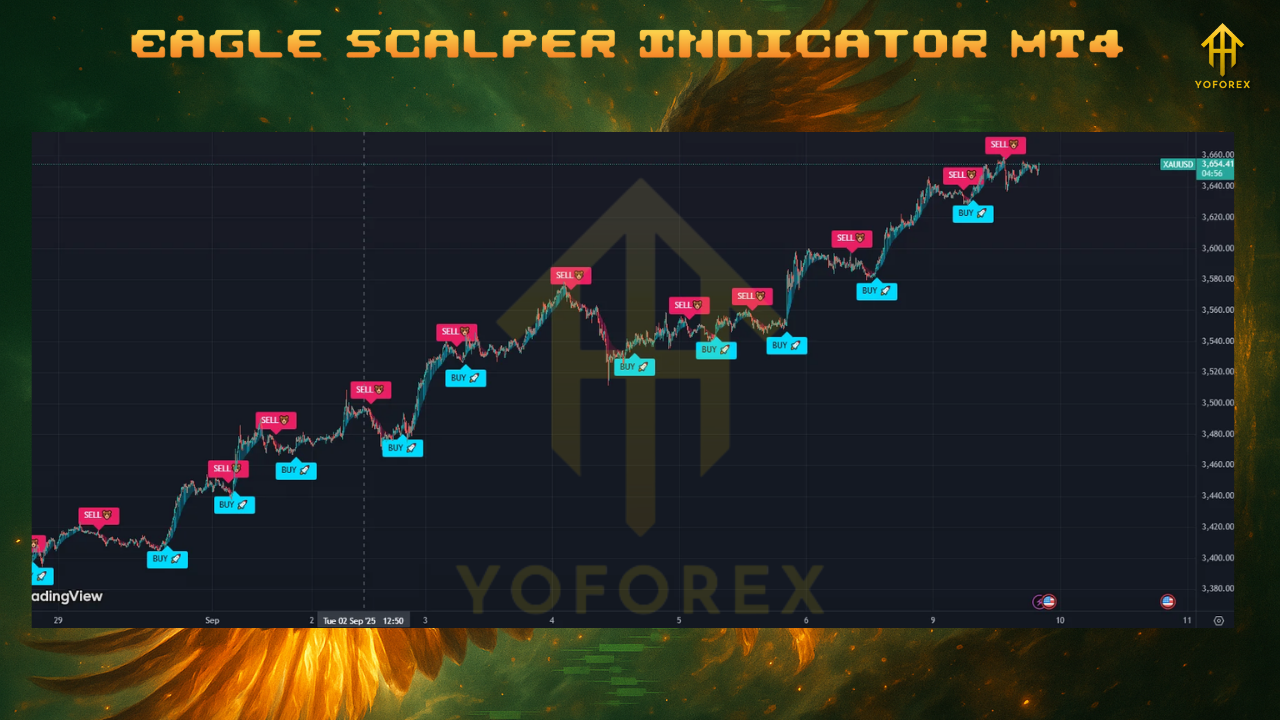
Working example: XAUUSD on M5
• Session: London open to early New York.
• Spread guard: Define a firm maximum spread that you will not violate.
• Entry: Closed-bar signal aligned with H1 bias and clear intraday structure.
• Stops and targets: 1.5× ATR stop, 1.3R base target, partial exit at +0.8R, optional loose trailing for the remainder.
• Adds: Maximum two smaller adds, only if price structure remains intact and the first entry is risk-free or in profit.
• Daily stop: Hard limit of 2R or 1%, whichever comes first.
When to avoid trading
• Illiquid periods such as late New York or pre-Asia drift where spread and slippage expand.
• Moments directly before or after major releases if your logs show that execution quality degrades.
• Times when the market is pinned inside a tight range near yesterday’s levels without commitment.
Using additional entries responsibly
Stacking entries can accelerate returns but can also accelerate drawdown. If you enable extra entries, implement all three controls simultaneously: limit the number of adds, reduce the size of each add, and require structure continuation (fresh signal with trend and space to target). If cumulative risk breaches your cap, no more adds. The point is to compound good conditions, not to average a loser.
Common mistakes and practical fixes
• Overtrading: Set a maximum number of signals per session. After you hit the number, stop.
• Over-filtering: If you block every imperfect setup, you starve the system. Define minimum criteria and stick to them.
• Tight trailing stops: Noise at M5 will knock you out. If you trail, trail slowly and only after partial profit.
• Ignoring execution: A theoretical edge can vanish with poor order fills. Track slippage and choose appropriate lot size to match your broker’s depth.
Building your playbook
Write a one-page playbook per instrument with the following elements: your best hours, average spread, typical fake-outs, best target profiles, and examples of A-quality setups. Include screenshots. Update this page weekly. Over time, this becomes your edge library and is far more valuable than any single indicator setting.
Risk disclosure
All trading involves risk. Past performance does not guarantee future results. The information here is for educational purposes only. Test thoroughly on a demo account. Use capital you can afford to risk and maintain strict risk controls at all times.
Conclusion
Eagle Scalper Indicator V1.0 MT4 works best inside a disciplined framework. Aim for a small, repeatable edge repeated many times under controlled risk. Define your hours, your pairs, and your thresholds. Journal every trade. If you do the boring work consistently, the indicator’s signals become a reliable component of a complete intraday process. Treat the rules as non-negotiable, and the results will reflect the quality of your preparation.


Comments
No comments yet. Be the first to comment!
Leave a Comment